")
A reliable electrical system is the heart of any off-grid camper van. Whether you’re powering lights, charging laptops, running a refrigerator, or even operating an air conditioner, a properly designed system makes van life comfortable and dependable.
In this guide, we’ll walk through how to install a 24-volt camper van electrical system, based on the system demonstrated in the YouTube build tutorial. This type of system is powerful, efficient, and ideal for vans that need larger solar arrays, inverters, and battery banks.
Why Choose a 24V Camper Van Electrical System?
Most van builds use 12-volt systems, but many experienced builders are switching to 24-volt systems for several reasons:
✔ Lower current draw
✔ Less voltage drop across long wires
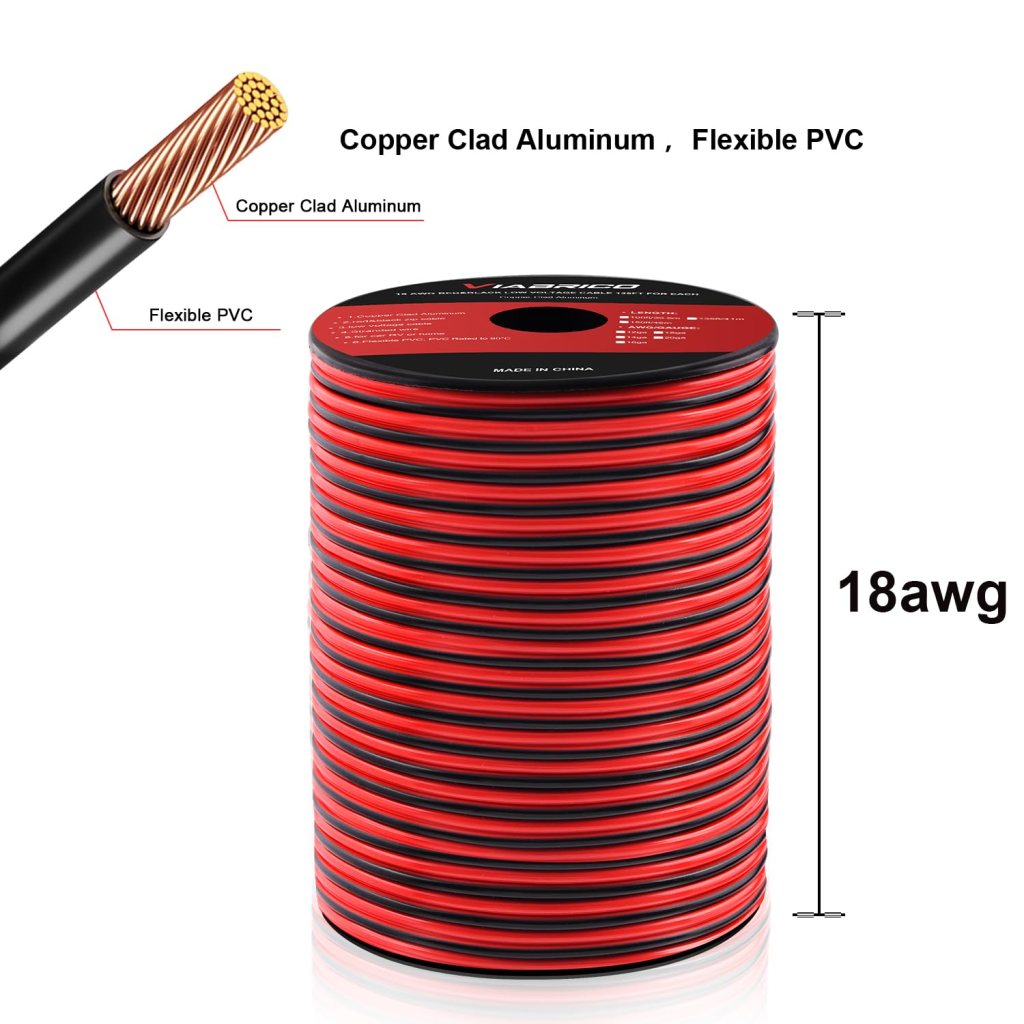
✔ Smaller wire sizes needed
✔ Higher efficiency for large inverters and solar arrays
A typical 24V system with a 200Ah battery bank equals roughly the energy of a 400Ah 12V system.
This makes it perfect for vans running larger appliances or planning extended off-grid travel.
Main Components of a 24V Camper Van Electrical System
Below is a parts list based on the system used in the video.
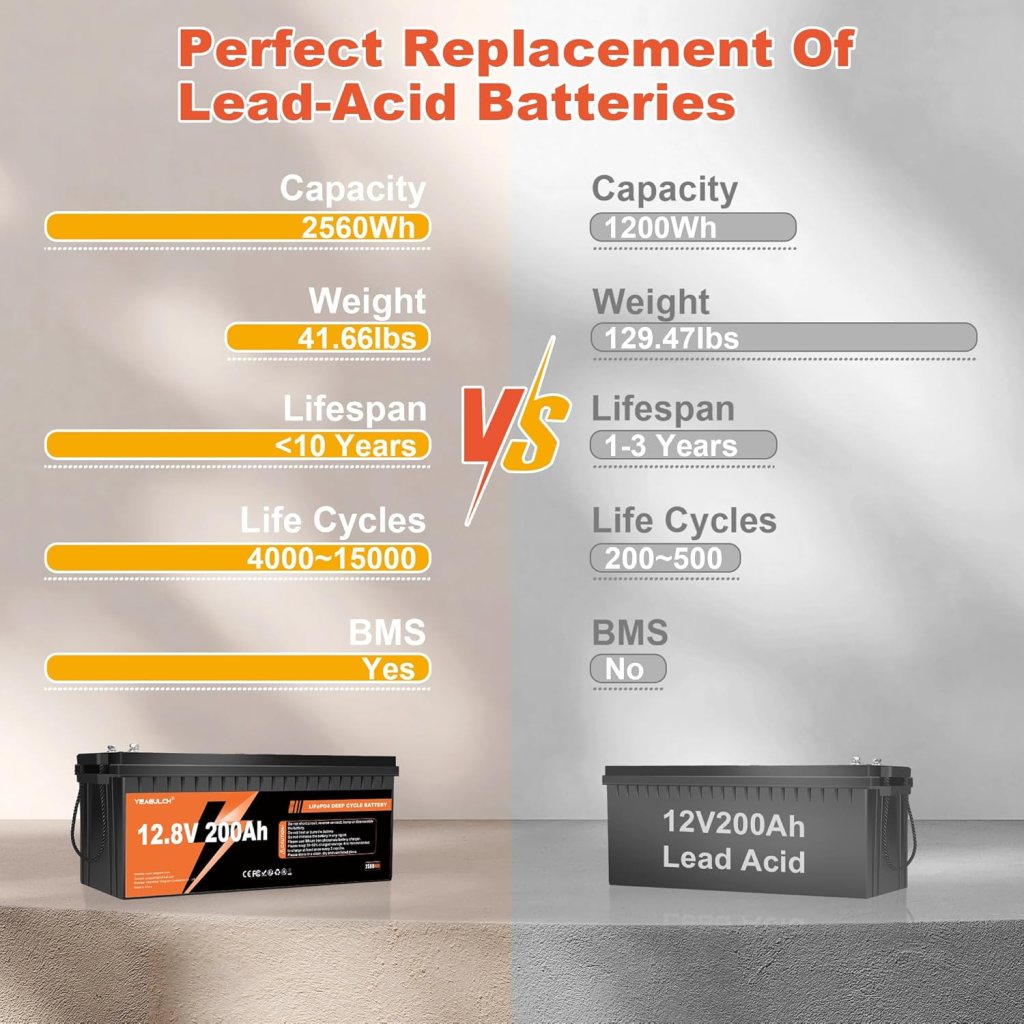
🔋 Battery Bank
The battery bank stores all the power for your van.
Typical configuration:
• 2 × 12V lithium batteries wired in series (to make 24V)
or
• Dedicated 24V lithium battery bank
Recommended capacity:
• 200Ah at 24V minimum
This provides enough power for:
- Fridge
- Lights
- Laptop charging
- Water pump
- Small appliances
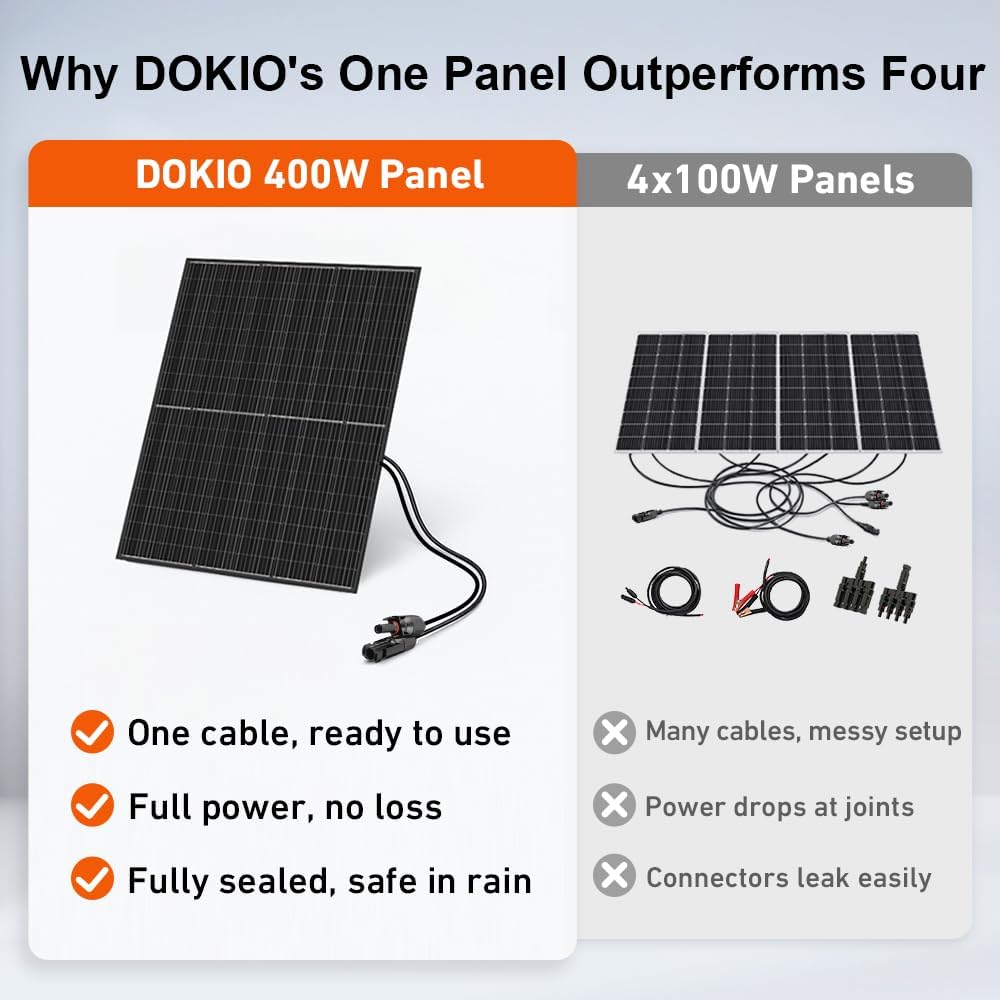
☀ Solar Panels
Solar keeps your batteries charged while camping off-grid.
Typical system used in the build:
• 4 × 250W solar panels
• Total solar capacity: 1000W
These panels feed power into the charge controller and recharge the battery bank during the day.
🔌 Solar Charge Controller
The solar charge controller regulates power coming from the panels.
Example component used:
• Victron SmartSolar MPPT 150/35
MPPT controllers maximize solar efficiency and convert panel voltage to the correct charging voltage for the battery bank.
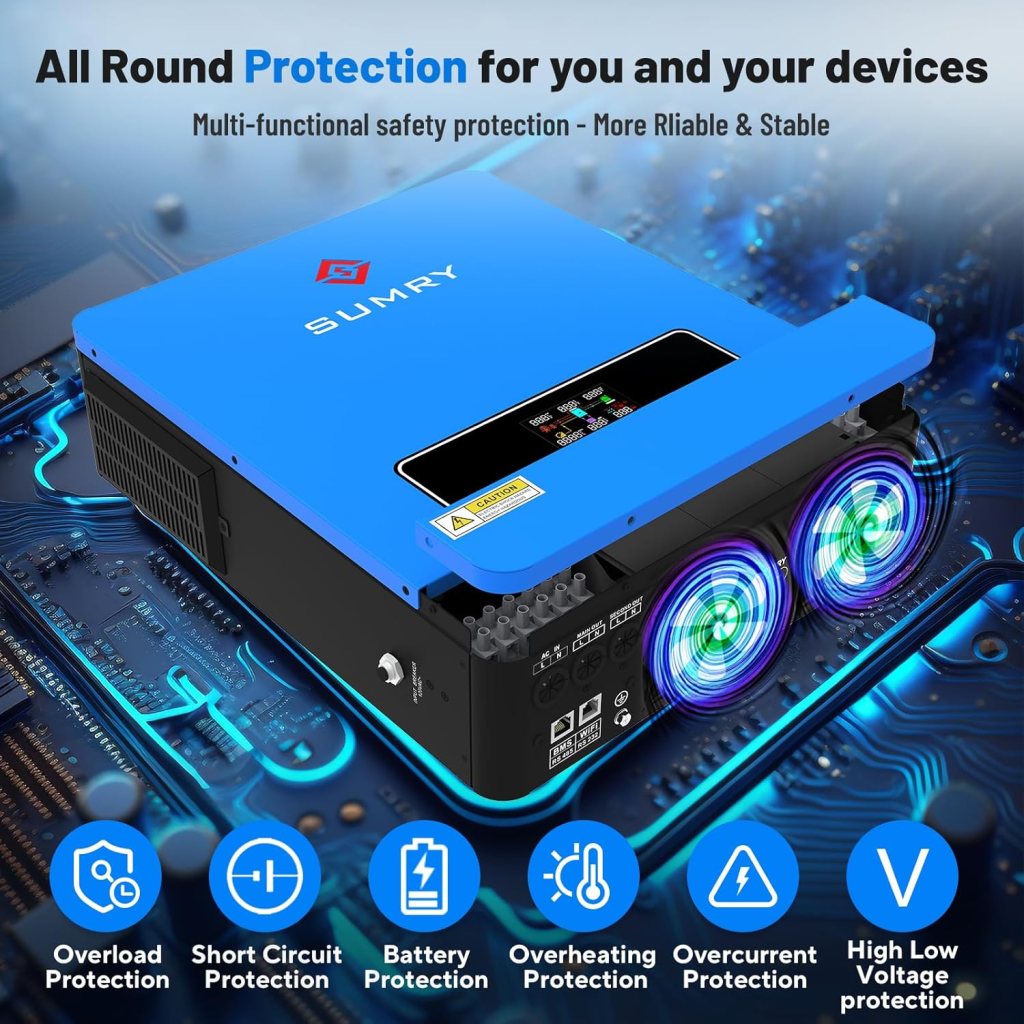
⚡ Inverter / Charger
The inverter converts battery power into 120V household power for outlets.
Example used in the system:
• Victron MultiPlus-II 24/3000 inverter charger
Features:
• 3000VA inverter
• shore power charging
• automatic transfer switching
This allows your van to run appliances like:
- microwave
- induction cooktop
- coffee maker
- laptop chargers
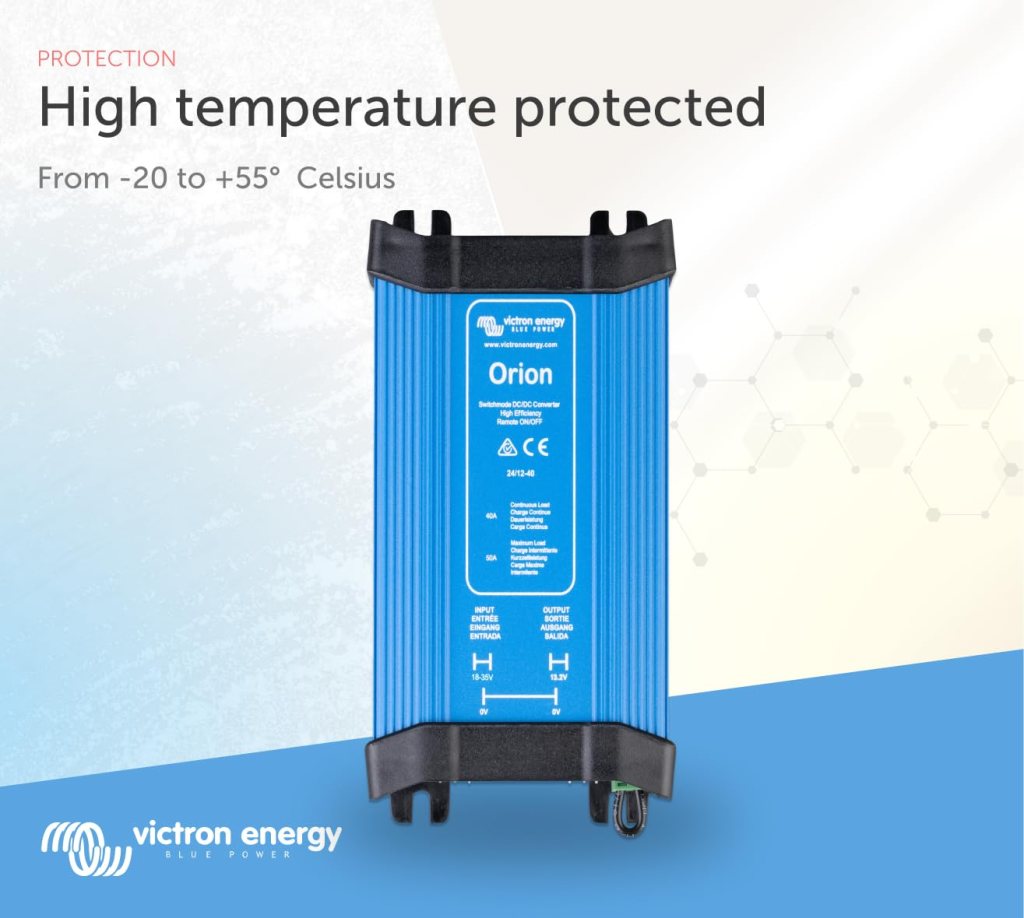
🚐 Alternator Charging
Your vehicle can charge the battery bank while driving.
Example device used:
• Victron Orion DC-DC Charger
This device safely converts alternator power to charge the lithium battery bank.
🔌 Shore Power
Shore power lets you plug your van into campground or house power.
Components used:
• 30A shore power inlet
• AC breaker panel
• inverter/charger passthrough
When plugged in, your batteries charge automatically and AC outlets work like a normal house.
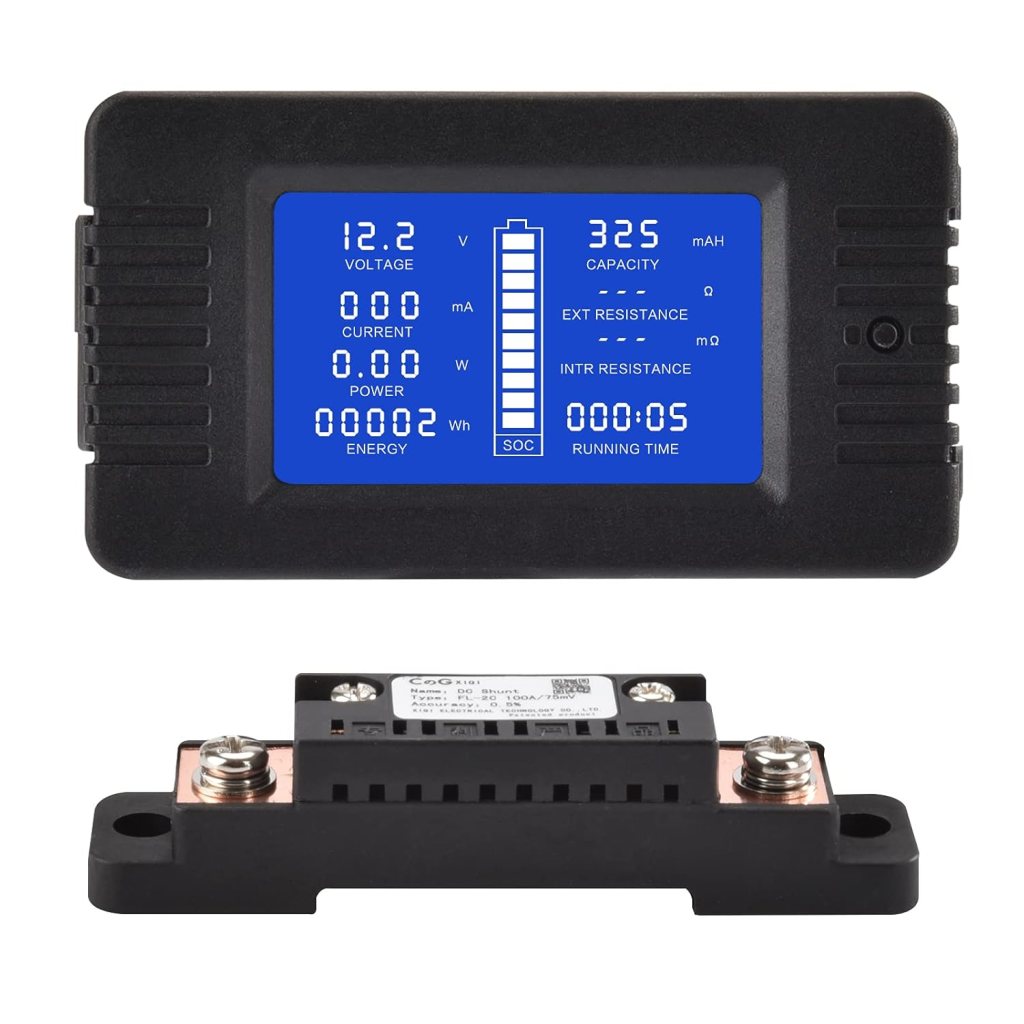
📊 Monitoring System
Monitoring allows you to see battery levels and system performance.
Example device used:
• Victron Cerbo GX
It provides:
- battery state of charge
- solar production
- power usage
- remote monitoring
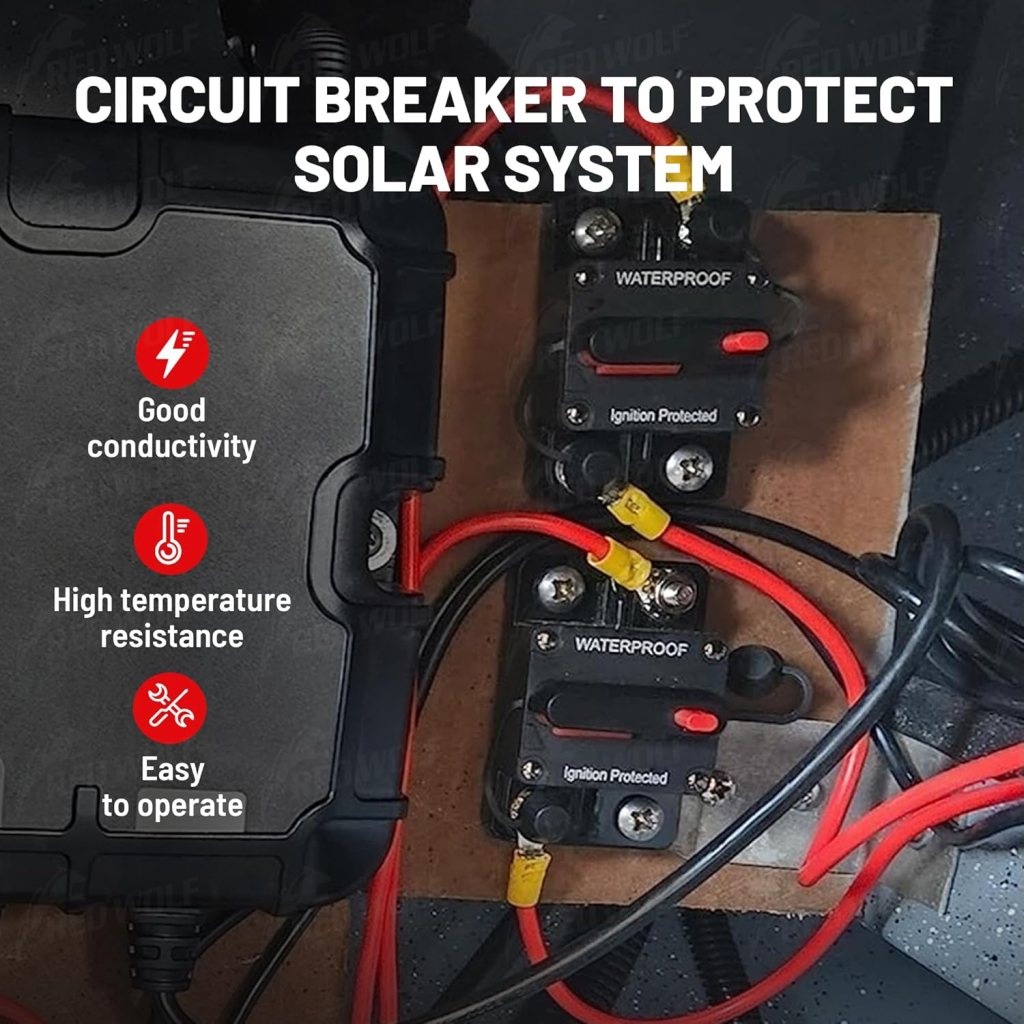
⚡ Power Distribution
To safely distribute power throughout the van, several components are used.
Essential components include:
• Bus bars
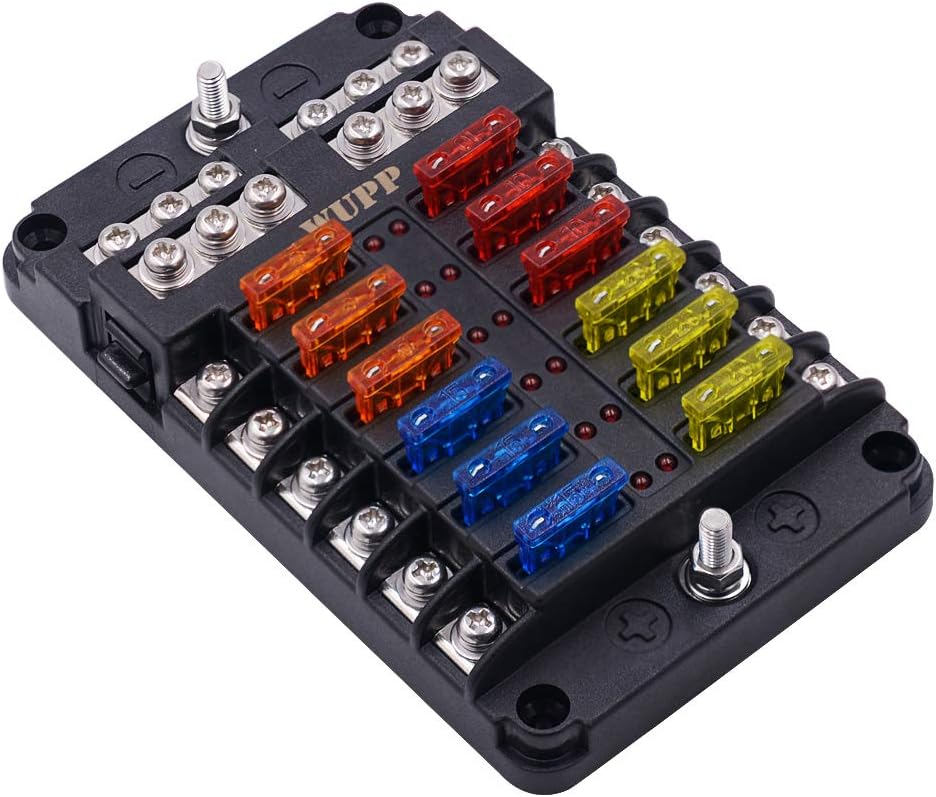
• Fuse blocks
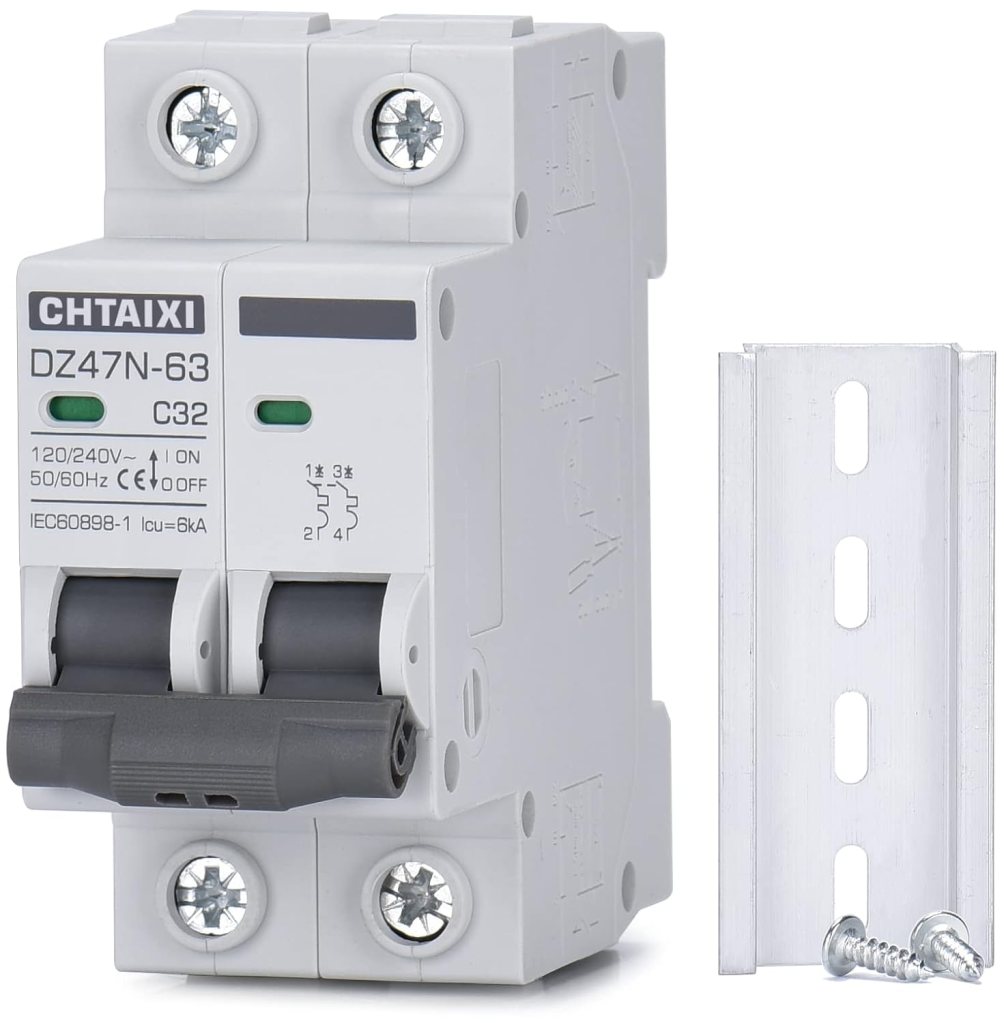
• Breakers
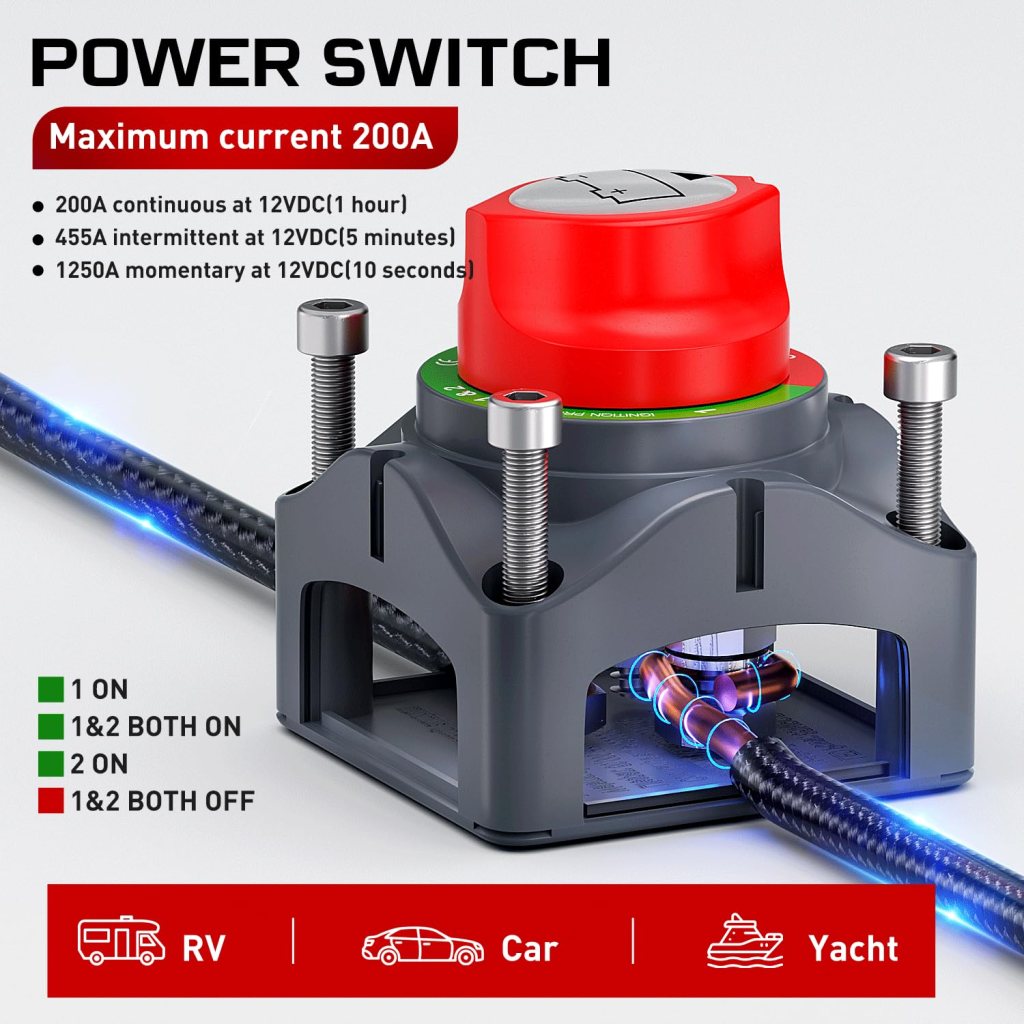
• Battery disconnect switch
• Distribution panels
These protect wiring and allow safe servicing of the system.
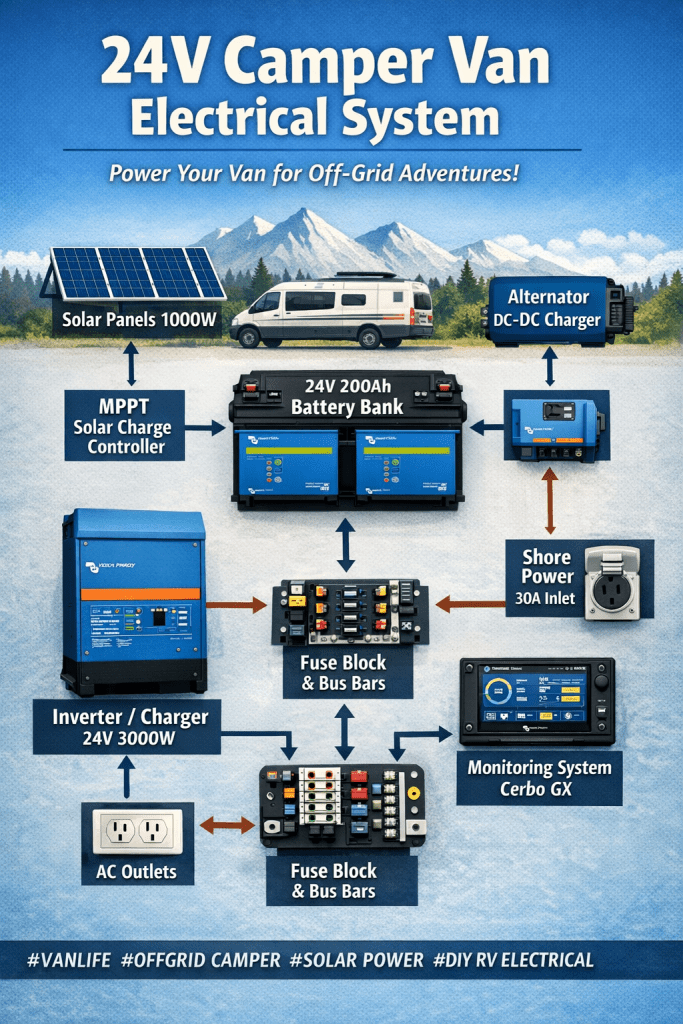
Example 24V Camper Van System Layout
A simplified wiring flow looks like this:
Solar Panels
     ↓
MPPT Charge Controller
     ↓
24V Battery Bank
     ↓
Bus Bars
     ↓
Inverter / Charger
     ↓
AC Outlets + AC Panel
Charging sources feeding the batteries include:
- Solar
- Vehicle alternator
- Shore power
Step-by-Step Installation Overview
Step 1 – Mount Solar Panels
Install panels on the roof and run wiring into the van through a weatherproof gland.
Step 2 – Install the Battery Bank
Mount batteries securely in a ventilated location near the electrical cabinet.
Step 3 – Install Bus Bars and Fuses
Connect batteries to positive and negative bus bars through proper fusing.
Step 4 – Install the Inverter
Mount the inverter near the batteries and connect it to the bus bars.
Step 5 – Install Charge Controllers
Connect solar input to the MPPT controller and run output to the batteries.
Step 6 – Install DC-DC Charger
Wire the charger between the vehicle starter battery and house battery bank.
Step 7 – Wire AC and DC Distribution
Connect fuse panels and breaker panels to power lights, appliances, and outlets.
Step 8 – Install Monitoring System
Connect monitoring devices to track system performance.
Estimated Cost of a 24V Camper Van Electrical System
Typical price range:
| Component | Cost |
|---|---|
| Batteries | $1,500 – $4,000 |
| Solar Panels | $500 – $1,200 |
| Inverter | $900 – $1,400 |
| Charge Controllers | $200 – $400 |
| Wiring & Breakers | $300 – $800 |
💰 Typical total: $3,500 – $7,000
Final Thoughts
A 24-volt electrical system is one of the best upgrades you can make for a serious camper van build. It provides:
- higher efficiency
- better support for large appliances
- easier expansion for future upgrades
While the installation may seem complicated, breaking it into subsystems—solar, batteries, charging, and distribution—makes the process manageable for most DIY builders.
Once installed, you’ll have a reliable off-grid power system capable of supporting weeks of van life adventure.
- Efficient Charging: Renogy DC On-Board MPPT Charger Review
- The Best Offline Navigation Apps for Camping, RV Travel, and Off-Grid Adventures (2026 Guide)
- BLUETTI Portable Power Station Apex 300 Review (2025): The Ultimate Camper Van Solar & Alternator Charging Setup
- ⚡ How to install a 24v camper van electrical system (Complete Guide)
- Van Life Hack: Save Space with This Must-Have Overhead Storage Cabinet”


Leave a Reply